Seal Window Frames - Instructions for Silicone, Acrylic & Co.
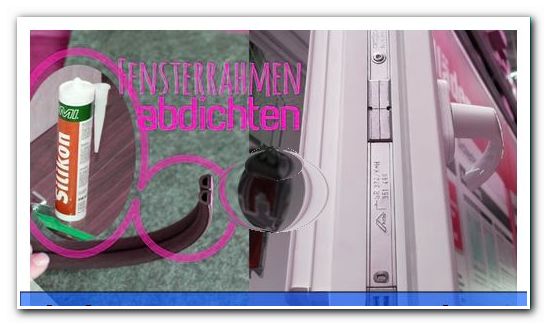
- Material and preparation
- Self-adhesive tape: seal windows
- Seal window with silicone
- Joint sealing with silicone
- Sealing with window putty
Craftsman prices are expensive. If you want to save the money, you can lend a hand in many areas, such as the sealing of window frames. With a professional guide, the right materials and a little craftsmanship, windows are uncomplicated as well as cheap to seal.
By the time the first cold days break, leaky window frames will show up as cold drafts flow into the warm rooms. Due to damaged window seals, additional warm heating air is released outside. An increased energy consumption is the result. Or condensation forms on the windows "> 
Material and preparation
Before starting, the necessary material has to be procured in order to renew window joints without interruption.
You need this:
For working with self-adhesive sealing tapes or rubber profiles.
- self-adhesive foam tape or rubber window seals
- Sealing strips for joints between frames and windowsills or walls
Detergent lye, cloths and a dust-free dry cloth - a carpet knife or a pair of scissors
- a spatula
For the window seal with sealant:
- Silicone or acrylic in white or transparent
- a silicone cleaner or alternatively pure detergent
- if necessary cling film or alternatively paper for the sealing of sash and wall frame
- a spatula
- a scraper made of plastic
- Detergent lye, cloths and a dust-free dry cloth
For window-sealing old wooden windows with window putty:
- putty
- a putty knife
- a spatula
- Detergent lye, cloths and a dust-free dry cloth
- Sandpaper or a wood grinder with maximum average grain size
- a brush
- linseed oil
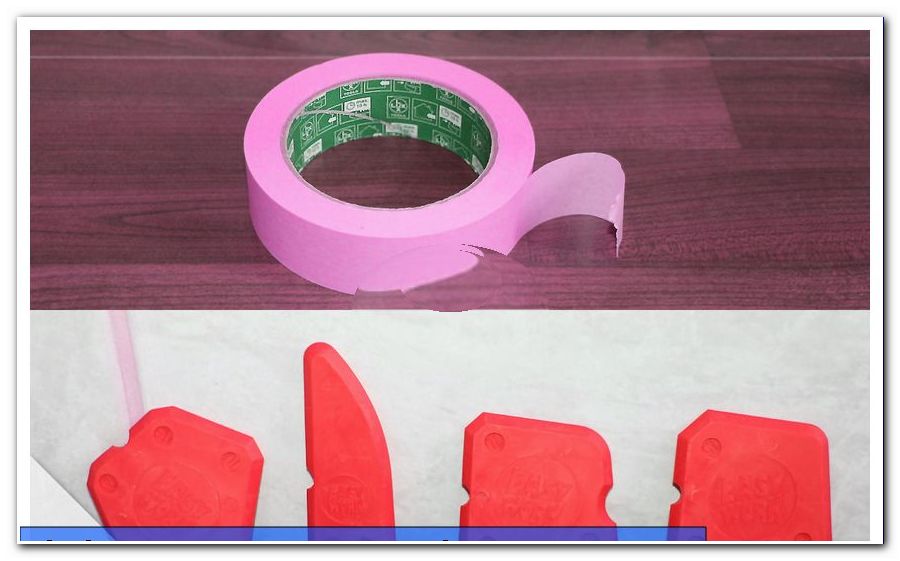
- masking tape
Prepare underground
The next step is to prepare the substrate for the new waterproofing. Here, the old sealing material is carefully lifted out of the joints by means of a spatula. Old self-adhesive foam tape and window seals made of rubber can be lifted with the spatula on a corner and then usually completely removed.
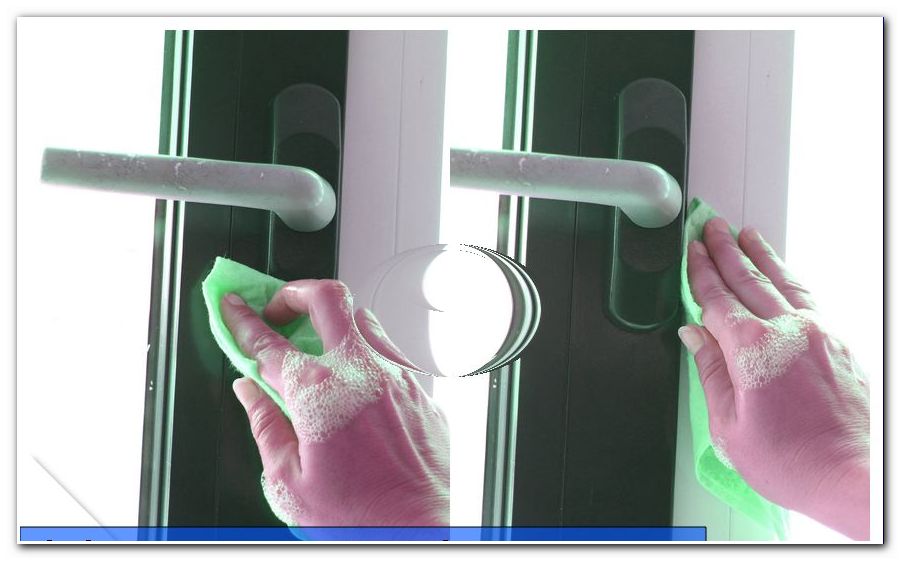
Clean
Afterwards, the sealing joints as well as the surrounding area are cleaned with the rinsing agent lye and dried, so that a dirt-free, dust-free and dry surface is formed to ensure the adhesion of the sealing material.
sand
For old wooden windows, which are to be sealed with window putty, this must be ground down in the area of the fold (sealing line) before cleaning. This is followed by a primer with linseed oil or the like, which does not close the pores. After about three to four days, the linseed oil is drawn in and the sealing with window putty can begin after the work surface has been freed from dust, dirt and grease.
Tips: Instead of silicone, acrylic sealant can be used. However, it is recommended to prefer silicone acrylic. Silicone is elastic and better suited for waterproofing on substrates where the material works. In addition, silicone has the property of being impermeable to water. In this way, the risk of mold infestation is reduced by penetrating moisture.
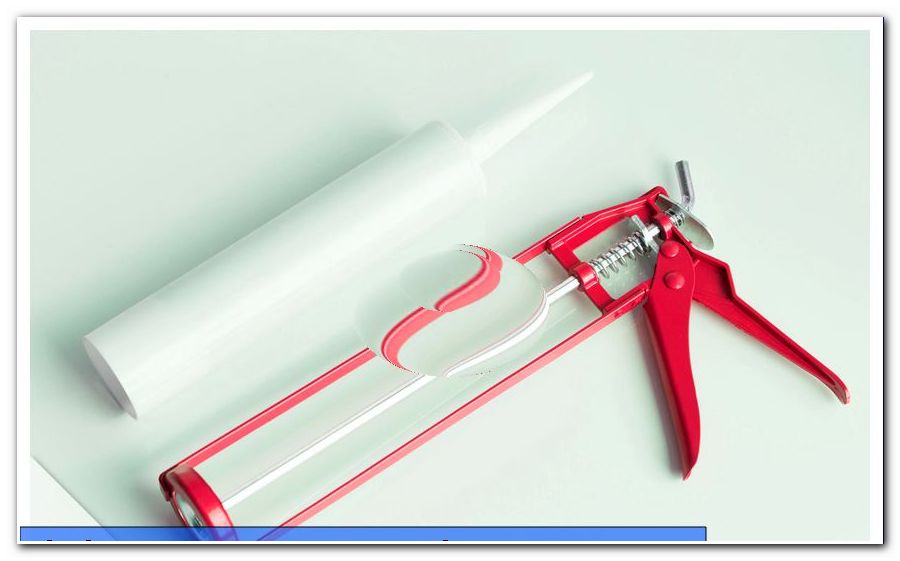
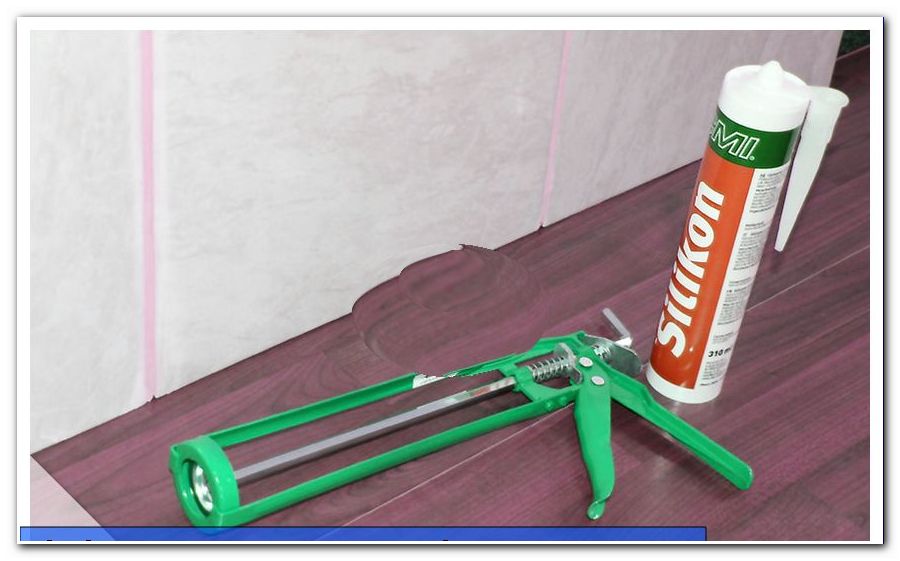
Silicone is available in cartridges that are easy to handle and easier to apply on or into the joints. It is advisable to renew all seals on a window to keep a window tight in the long term and not having to re- seal elsewhere after a few weeks.
It is ideal if the seal lengths are measured prior to the material procurement for sealing. In this way, sufficient sealing material can be purchased and work does not have to be interrupted because sealing material is missing.
When all materials are ready to hand and the preparation of the joints and / or frames to be sealed is done, the seal is important.
Self-adhesive tape: seal windows
- Workload including preparation about 20 minutes for a sealing area of two square meters
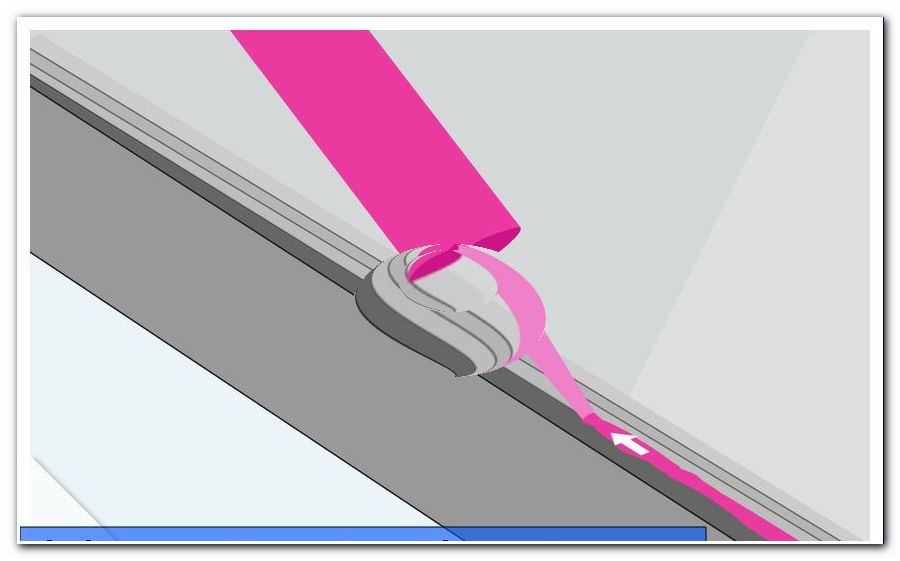
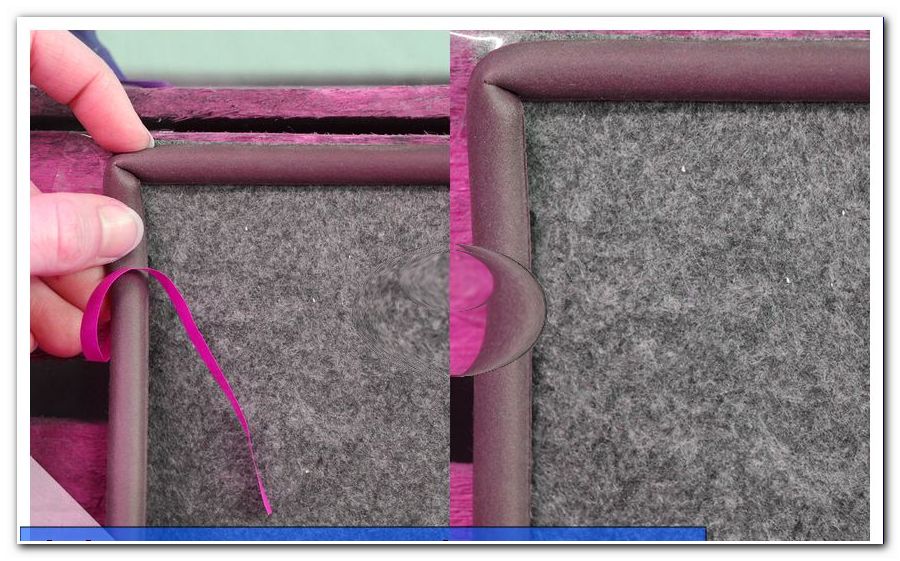
1. For self-adhesive sealing tape made of foam or rubber, remove the protective film from the first five centimeters and apply the adhesive seal in one of the guide grooves on the window sash or frame and press firmly.
2. The self-adhesive sealing tape is then pulled straight on the sealing line, centimeter by centimeter, and pressed down. The adhesive protective film is not pulled too far, so that the self-adhesive sealing tape does not adhere to itself or sticks outside the sealing line.

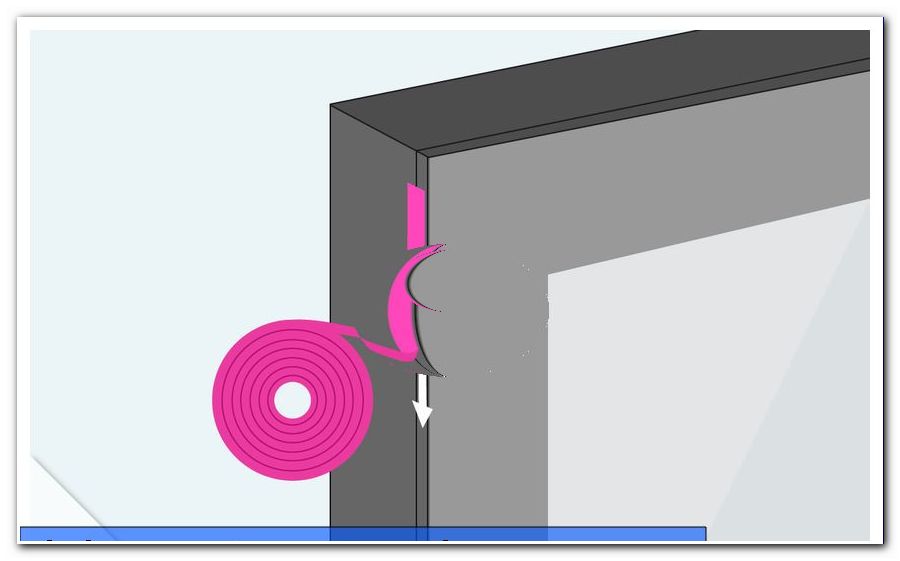
3. Arrived at the first corner, the sealing tape is cut off exactly with the end of the sealing joint.
4. Subsequently, the sealing tape is glued in the same way to the adjoining window or frame groove. Here is to be noted. that the sealing tape connects as best as possible to the end of the already glued sealing tape.
5. When all four sides have the sealing tape, close the window slowly and gently for at least ten minutes to apply additional pressure to the bonding surface to ensure a permanent hold. Closing may be more difficult at the beginning since the sealing tape adapts to the given shapes as it closes.
Cost: self-adhesive sealing tape made of foam circa three euros per meter with a width of 20 millimeters. Rubber profile sealing tape from brand manufacturers on average € 2 per running meter.
Seal window with silicone
- Workload including preparation about 45 minutes for a sealing area of two square meters
Instead of self-adhesive sealing tape, silicone can be used. One of the advantages of this material is that it is more durable than rubber or foam finished gaskets. It is recommended to use the sealant from the cartridge .
1. In the first step, where the old seal sat, a layer of silicone several millimeters thick is applied from one frame corner to the next. The cartridge is slow to guide and a uniform pressure when squeezing the silicone recommended so that no bumps.
2. Wet the cling film or paper with a detergent solution.
3. Place the cling film or paper on the damp silicone compound and press lightly to keep it from sticking.
4. Carefully close the sashes and keep them closed for about three to four hours.
5. After the waiting period, the silicone is usually dried and the window sashes can be opened slowly.
6. Carefully peel off the foil or paper.
Cost: Silicone to seal a sealing surface of two square meters under six euros.
Tip: Silicone remnants can be removed with a special silicone cleaner, which is available in every well-stocked construction trade. Alternatively, silicone can be rubbed off with pure detergent and a cloth.
Joint sealing with silicone
- Workload including preparation about 45 minutes for a sealing area of two square meters
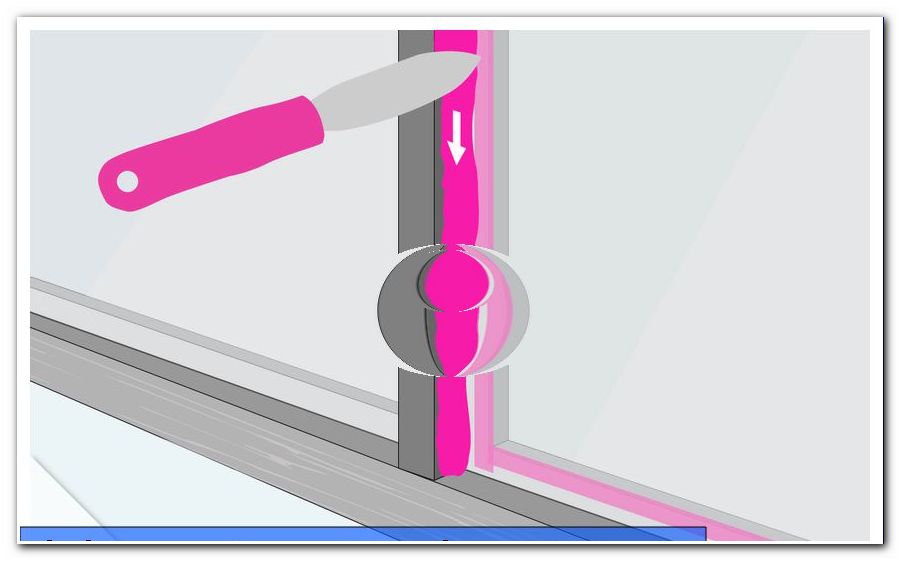
1. The silicone is pressed into a millimeter thick tube deep into the edge between the pane and sash frame or between the frame and sill, ideally with the aid of a cartridge.
2. The spraying takes place on all four sides of the window.
3. Using a damp cloth, coat the damp silicone compound with even light pressure. It should be noted that this is done in a single pass from corner to corner, without stopping. This can result in a more uniform result of the silicone surface.
4. For straight edges of the silicone compound, use a plastic slider to push away the remaining silicone at the side edges and remove it with a damp cloth at the end.
5. Re-tightening the silicone surface may be required.
Cost: Silicone to seal a waterproofing area two square meters under six euros.
Tip: The sprayed silicone strand should be selected rather thick than too thin. Too thin layers usually require a new, additional silicone layer in order to achieve an optimum sealing effect. With several layers of silicone, there is a risk that air will be created between them, which, in particular, endangers long-term impermeability and minimizes sealing intensity.
Sealing with window putty
- Workload including preparation about 1.5 hours for a sealing area of two square meters
1. The tape is glued to the glass and the frame so that there is a recess for the cement joints.
2. The window putty is removed in the desired amount from its container and kneaded in the hands until it is lukewarm and has a smooth texture.
3. From the putty long caterpillars are rotated, which have a diameter, so that they fill the fold completely.
4. Press the putty caterpillars into the rabbet using the putty knife.
5. This is optionally repeated on all four sides or at patch points.
6. In the corners, pull the window putty in at a 45-degree angle inwards to achieve a seamless corner seal.
7. The applied window putty must rest. As a rule, it is dried in five to seven days. The tape should not be removed before the third day, so as not to accidentally peel off putty.
Cost: Window putty to seal a sealing surface two square meters under eight euros.
Tip: Window putty has the worst properties in terms of sealability and durability. It is recommended to replace the window putty of old wooden windows with silicone seals. Use of window putty as an alternative only to transition, to maintain the overall appearance of all windows, if not impermeable windows have window putty.
Sealing with more durable and durable window frame sealing materials should be considered in order to save costs and labor in the long term.