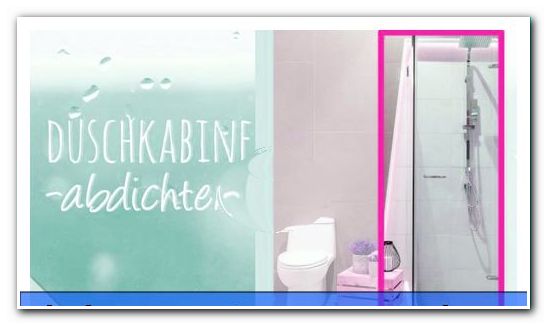
Seal shower cabin: 2 methods with DIY instructions
- Seal the shower cabin
- Sealing strips: DIY instructions
- Sanitary Silicone: DIY Guide
You have just finished showering and again your half bath is under water ">
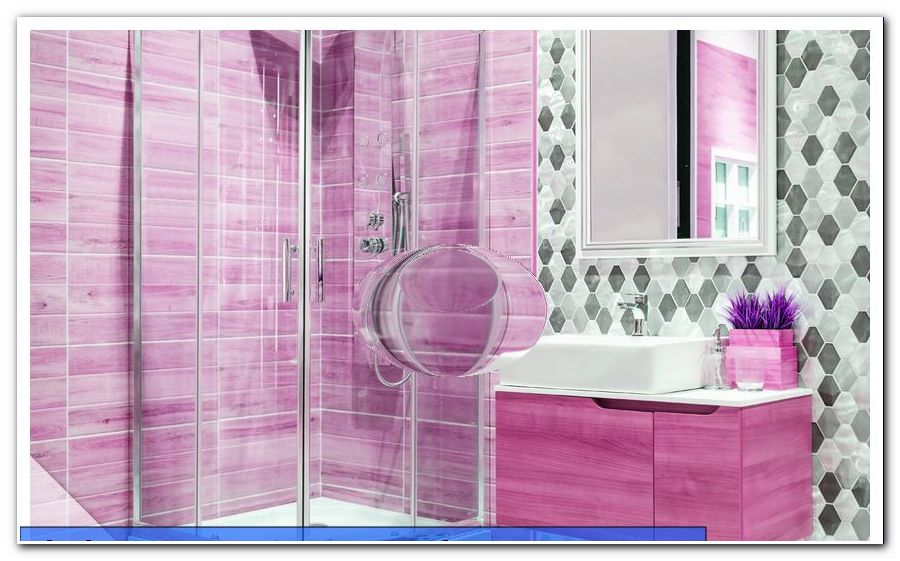
A leaky shower cubicle is no longer a case for sanitary operation thanks to the DIY possibilities offered today. There are various methods that you can use to seal leaking shower doors or glass walls, thus preventing flooding in the bathroom. In addition, these methods are cost-effective alternatives that can be implemented with little knowledge. All you need is a detailed DIY guide that explains the materials, utensils and steps needed to effectively and quickly seal your shower cubicle. These can be found here.
Seal the shower cabin
When you have finally decided to seal your shower cabin on your own, there are two methods available to you. These are each done in a different way with other tools and utensils and offer depending on cost, time and effort better or less favorable for you. For each method you will find a fitting DIY guide with tips to make your shower enclosure waterproof . But keep in mind that one of the two methods is much harder to implement, but is better suited for showers with an unfavorable base cut.
Tip: Alternatively, you can hire a sanitary company if you yourself are not well-versed in the household and want to rely on a long-term effective method. The cost of sealing a shower depends mainly on the size and materials used.
Sealing strips: DIY instructions
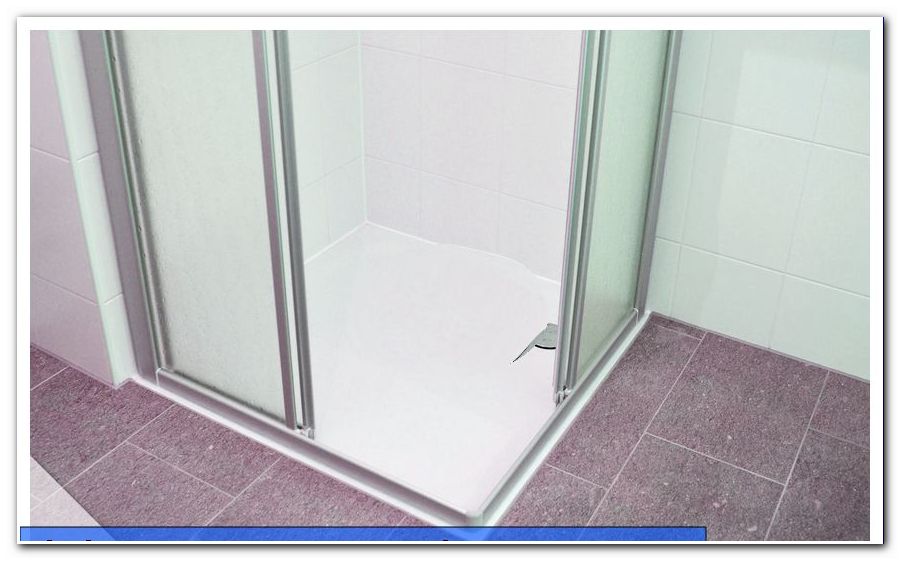
One of the easiest ways to seal your shower cubicle is to use ready-made weatherstrips, which you can lay in a few easy steps. These are only suitable for sealing the shower door or glass walls if they have a gap that is not already closed. The big advantage of these is the ease of use .
Since these are prefabricated parts, effort and costs are low . The only disadvantage is the not complete protection against leaking water to call. With particularly high amounts of water, this will escape under the seal, especially if there is a lot of pressure on it. The reason for this is the missing silicone, which would completely seal the interspace. You will need the following materials and utensils for this method.
- Sealing strips or shower seal (different depending on the manufacturer)
- Glass or bath cleaner
- cleaning cloths
- Cuttermesser
You do not need more for this method. The shower seals are particularly suitable for shower cubicles, which are already provided with such seals. Just moving components such as the shower door are equipped with this and must therefore be changed more frequently for this reason. The permanent use ensures a heavy wear of the seals. You have the choice between the following seals.
- straight seals
- Anti-sway bars: these are resting on the ground
- Circular shower seals
- Seals with magnetic profiles: these close off the shower
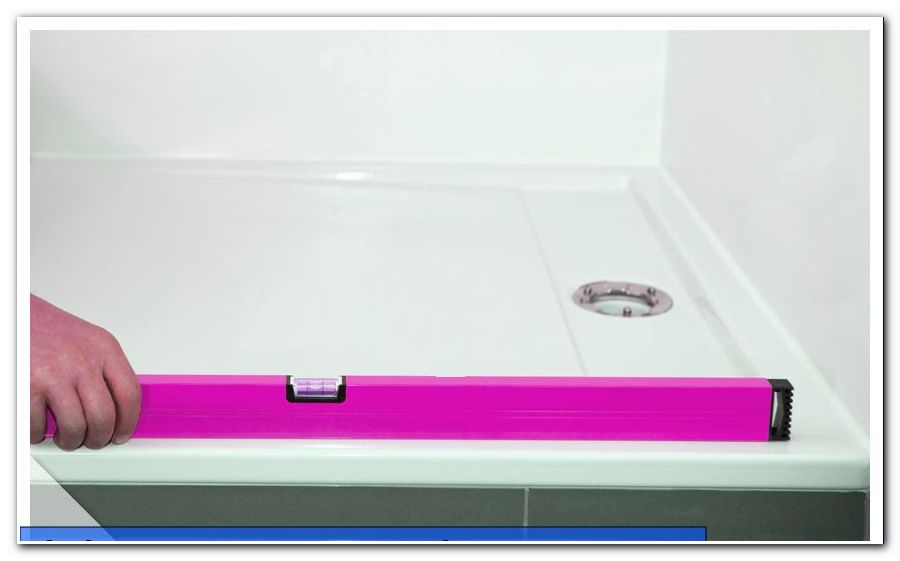
Basically, you will probably use one of the straight seals and splash guards. For straight seals, depending on the manufacturer, you have a large number of profiles available. Be sure to measure the following values before buying each gasket.
- Glass thickness in mm
- Distance to the floor or other shower parts in mm
These are the main sizes that you will need to order and will help you choose. The length is not always important because you can cut the gasket . It just can not be too short. With round seals, however, you should measure the necessary length in any case, as they are significantly more expensive.
On average, the cost per gasket amounts to 12 to 35 euros for 100 centimeters of gasket, depending on the manufacturer and type. Some manufacturers adapt some of their gaskets to doors or shower walls. This should also be considered in the selection. Once you have the necessary gaskets, you can seal your shower cubicle . Follow this DIY guide.

Step 1: Begin by removing the old gaskets on your shower cabin, if any are still there. Normally, you just have to deduct them. If they get stuck, use a blunt tool and loosen the shower seal. These can be easily disposed of with household waste as it is mainly silicone and plastic.
Step 2: Now thoroughly clean the edges of the glass doors and shower walls with a detergent. Dry them to prevent moisture from collecting under the shower stall seal. Absorbent wipes, which absorb a great deal of moisture and thus prevent the risk of possible water accumulation, are very suitable here.
Step 3: Unpack the finished shower seals and check for cracks or other defects. If the gasket is damaged, do not use it any more as it is unlikely to function correctly. This is especially important if, for example, you have a delicate floor in the rest of the bathroom, or if you can get water into the hallway or other rooms that are not resistant to moisture.
Step 4: Now attach them according to the manufacturer's instructions, if one is included. In most cases, you just need to attach the gasket to the glass or door in the correct orientation. For this, it is attached to the glass and should then sit firmly. Some shower gaskets have a piece of plastic bent inward. This is often found on baffles and should direct the water at a pleasant angle in and away from the disc. This must always point inwards.
Step 5: After you have installed the shower seal, check the seat. It must not be loose, otherwise it will not work. As soon as the seat is right, take the cutter and cut the excess material to the required length.
Step 6: Finally, clean the floor and glass of the shower again. Dirt can adhere to the glass during assembly. Besides, you certainly do not want to leave any dirty fingerprints on the glass. Likewise, you should remove possible remains of plastic or silicone that have come off the shower seal during assembly. This is often necessary after cutting.
Now you have mounted the shower seal and can shower relaxed, without having to be surprised by a huge puddle after showering. When installing, always pay attention to possible instructions from the manufacturer, because not all products are the same.
Tip: You do not have to worry about the size of the sealing strips and sleeves, as they are made according to typical shower cubicle dimensions, which are found in the majority of German baths. However, if special shower dimensions were used to build your home, it is possible that the parts will not fit.
Sanitary Silicone: DIY Guide
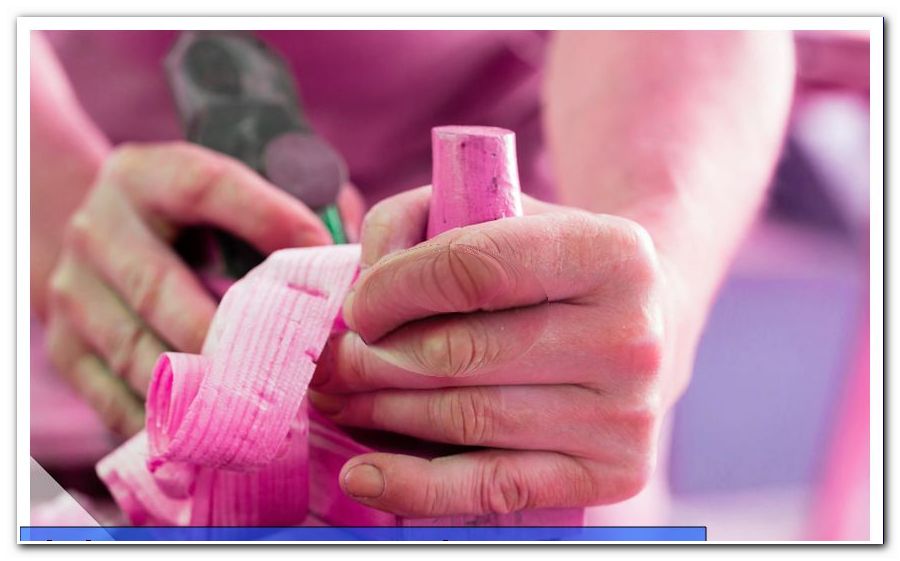
You can also seal your shower cubicle if you use sanitary silicone . This has been used for just this purpose for years as it prevents the formation of mold and provides good protection against leaking water. You can use the sanitary silicone to seal several components of the shower cubicle.
- ground connections
- wall connections
- Put
The silicone is not very suitable for the doors as it can not be applied to the edges. It is used as a solid compound that effectively stops the water and stays in place for a long time after application. So if you have a loose seal that is not on the moving parts of the shower cubicle, or you need to close a large gap, such as the shower wall to the floor, you should seal it with sanitary silicone.
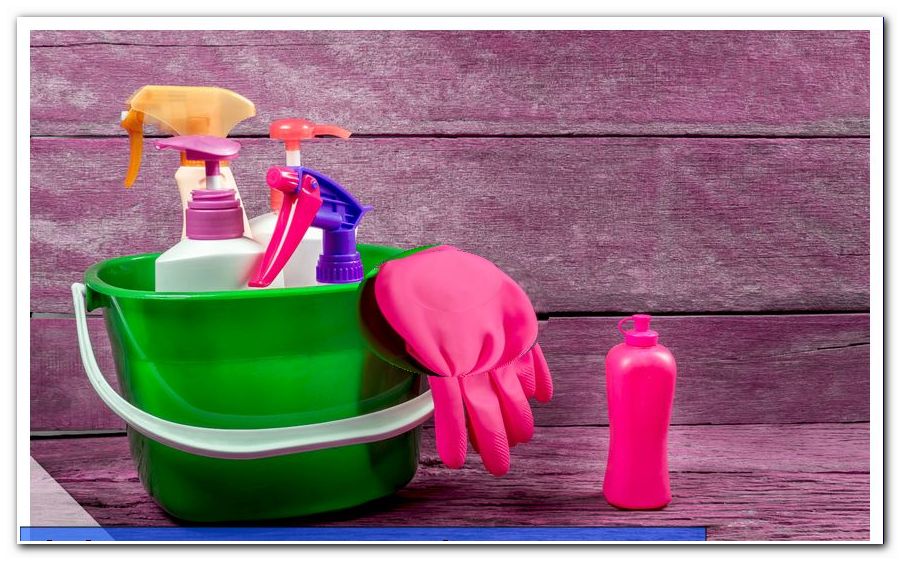
For this method you need the following materials and utensils:
- sanitary silicone
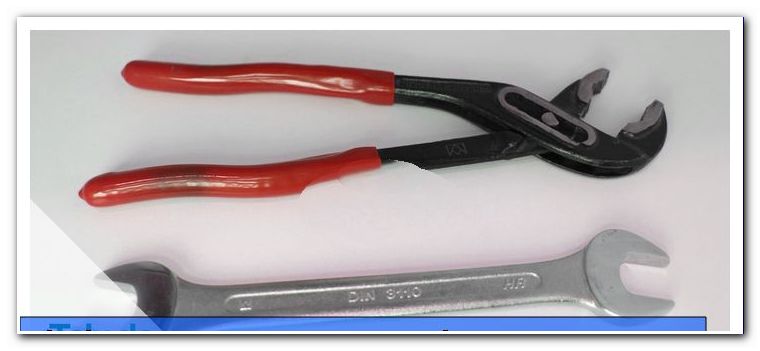
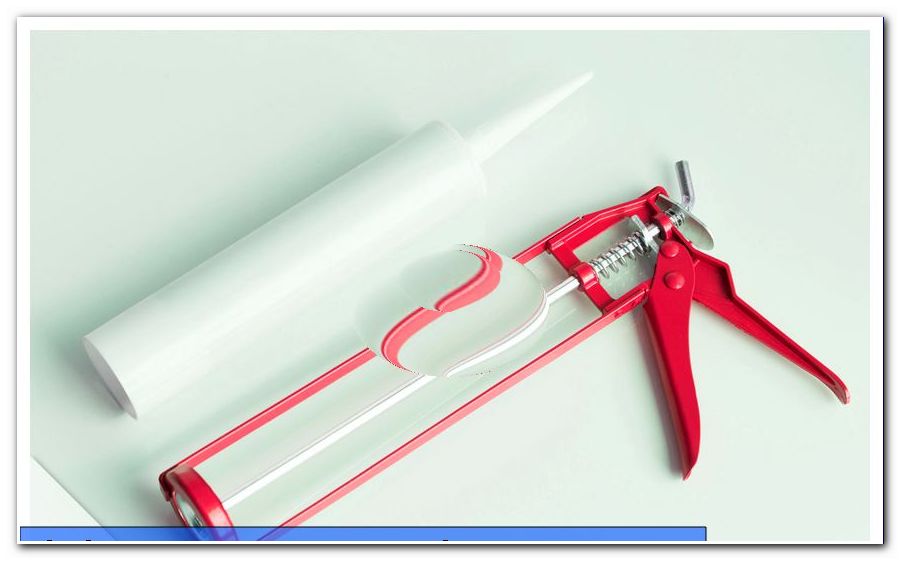
- caulking gun
- Fugenglätter
- dish soap
- bowl
- cleaning supplies
- cloth
- duct tape
- gloves
With sanitary silicone, you are really spoiled for choice because it is offered by a variety of manufacturers. On average, you pay between five and ten euros for a cartridge that easily seals. Depending on the quality, the cartridge press itself costs between eight and 30 euros. You can buy a joint straightener for about ten euros. Once you have all the necessary materials and utensils ready, you can start sealing your shower cubicle.

Step 1: If you still have old silicone in the area to be compacted, remove it with a joint scraper. Then clean the area thoroughly so that there is no longer any excess silicone in the appropriate place. Dry thoroughly to prevent moisture from underneath the groin.
Step 2: Insert the cartridge with the silicone in the press and fix it. Depending on the model, this works in different ways.
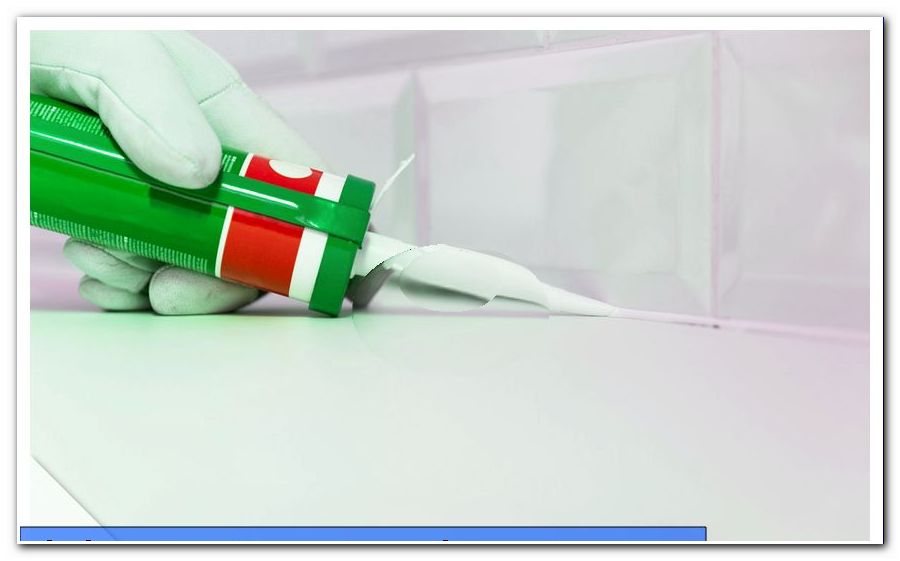
Step 3: Now guide the tip of the cartridge press along the edge you want to seal. Run the cartridge press over the edge in one go and try not to slip, otherwise you will have to remove the silicone and reapply.
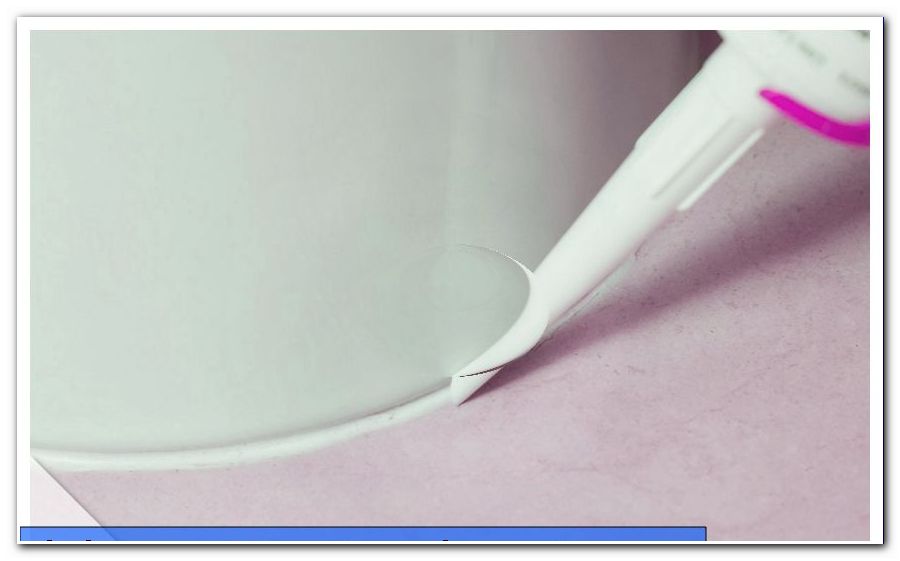
Step 4: Prepare a bowl of water and a few drops of dishwashing liquid. Immerse the joint smoother in the lye and smooth out the silicone with enough force. This must also happen in one go, otherwise the gap will not be smooth. Be sure to wear gloves at this step.
Step 5: Now let the silicone dry. Then you can use the shower cubicle.
Tip: As an alternative to sanitary silicone you can use so-called sealing tapes. These have the same function, but they are simply glued to the appropriate location, which does not look good, but is very easy to implement.