Make Christmas arrangements of natural materials yourself
- Variant A: Classic Christmas arrangement
- General procedure
- Shape and size
- Prepare plug-in sponge
- Frame Christmas arrangement
- Decoration proposal
- General procedure
- Variant B: imaginative Christmas arrangement
- Instructions for the design
Even though autumn and winter cling to nature with an icy grip: A contemplative walk through the frosty, fresh forest will allow you to discover many elements from branches of twigs of all kinds to bizarre wood interweaves, from which you can conjure up a fantastic Christmas arrangement. We will explain step by step how to proceed!
Of course you have the option to buy ready-made and more or less special Christmas arrangements in the shop. However, we recommend you to lend a hand. There are numerous ways to make such creations cheap and without much time on your own. The most beautiful variant is certainly the one with the use of natural materials. Whether branches and wood, moss and bark or pine cones and green twigs: The forest acts as a hodgepodge of pretty utensils, which in combination with several tools and complementary decorative elements create a dreamlike arrangement, with which you can prepare your home for Christmas. Our detailed instructions describe in detail how to make artistically appealing Christmas arrangements with natural materials by yourself!
Variant A: Classic Christmas arrangement
In this variant, we show you how to create a classic Christmas arrangement of materials that can be found in the forest. For your trip into the forest, you should pay attention to and collect the following resources: 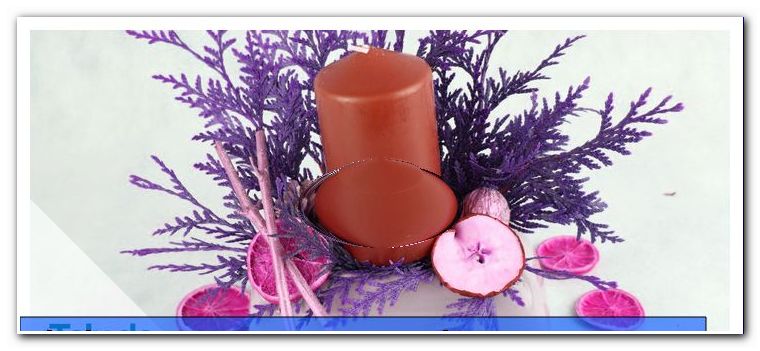
Natural materials from the forest:
- different cones (fir, pine, spruce lark)
- moss
- bark
- small branches (pay attention to a nice shape, as smooth as possible)
- ivy
- mistletoe
- Rosehips, other fruits (berries)
- Nuts (hazelnuts, walnuts)
- Oranges, apples
You can only use one type of green or a type of cones, or you can mix different types. Just walk in the woods with your eyes open and take the natural materials you like. It is allowed to take things out of the forest, as long as it happens in small quantities. So please do not carry lumpy cones out of the forest, these eventually serve to perpetuate our forests. 
For the implementation of the arrangement you still need some additional items:
- any vessel
- floristic
- wire
- hot glue
- spray paint
- Pruning shears, sharp knife, pliers
If the wire is worked in such a way that it is not visible, simple plug or support wire is sufficient. Otherwise you should resort to gold wire.
General procedure
Shape and size
Think about where you want to place your finished arrangement. This determines the optimum shape and size of the creation.
- a narrow, high arrangement looks enchanting on the floor next to the front door.
- a wide, low arrangement is suitable as a decorative element for the living room or dining table.
Choose a vessel that fits the intended purpose. Rule of thumb: A tall vessel for a tall arrangement and a low vessel for a low arrangement.
- Be careful with tin pots. Check if your chosen vessel is waterproof.
- If you use a glass container, you should cover the sponge with natural materials so that it is not visible.
We recommend using a decorative flowerpot
Prepare plug-in sponge
Water the plug-in sponge thoroughly. Just place the sponge on the water surface and let it soak in water. Dive it down actively, it is not uniformly soaked. 
Push the wet sponge into the container. It should protrude a few inches of the sponge over the pot. If there is too much sponge, you can cut it with a knife. With the cut pieces, you wed the sponge in the vessel so that it sits absolutely tight.
Frame Christmas arrangement
Take your green natural materials to hand, cut them to your liking and start to stare out. Make sure you also pour out over the vessel to make a nice transition between arrangement and vessel. 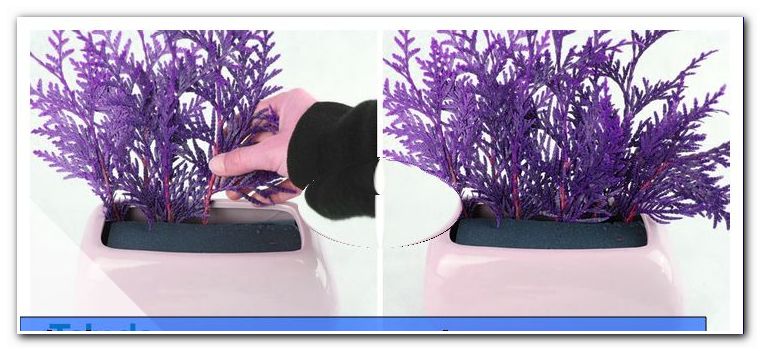
- Cover any visible parts of the sponge with moss or brushwood.
- Also, work a few branches or rods to make the arrangement look even more interesting. These can be put into the sponge or attached to the green with wire or hot glue.
Integrate the pillar candle. It is essential to attach them firmly and safely to minimize the risk of fire. There are also candle holders especially for Steckschwämme. It is recommended to resort to it. If you do not want to use blue-bended iron wire.
Tip: To get the wire more easily in the candle, heat it briefly under running hot water or in a candle flame. It is best to hold the wire with pliers so that you do not burn yourself. Once the pieces of wire are hot enough, insert them evenly into the bottom of the candle. Caution: Do not operate with force. If necessary, heat the wire again. Otherwise, there is a risk that the entire candle bursts.
Is the basic form with the green staked and the candle securely fastened "> 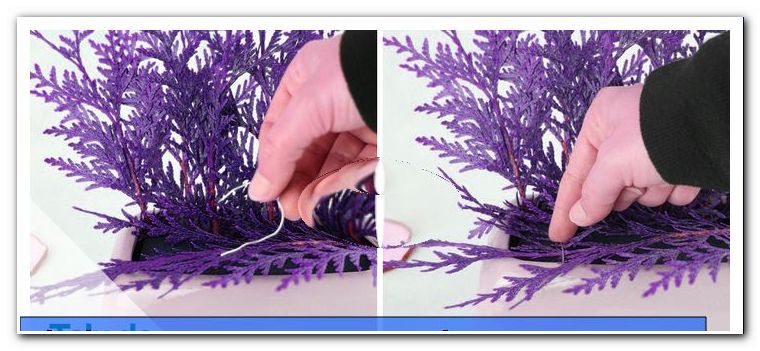
Tip: If you want to embed Christmas balls and intend to set up the arrangement outdoors, you should only use plastic versions. Glass balls are not suitable, since the material comes under tension in cold weather and thus threatens to burst.
Decoration proposal
Now we would like to provide you with a concrete decoration suggestion based on it:
- As a vessel, take an old tin pot and place a small, simple pot in it for safety - keyword "watertightness".
- Cut water-saturated plug sponge and then place in the planter. Then place the sponge residues sideways in the planter.
- Target a low arrangement of the arrangement and unplug it with sprigs of pine, mistletoe, pine and conifers. Cover with moss the still visible remains of the sponge.
- To loosen a few larch branches while laying across the arrangement and fasten with thick wire.
- Wire the candle and work it into the middle of the arrangement.
- Then attach the cones, tree bark and cinnamon sticks with wire. Lay the ivy tendril over the Christmas arrangement.
- Stick a little cotton, a few frosty balls and a golden star with hot glue.
Enjoy the sight of the finished arrangement and place it on the windowsill, on a low chest of drawers or on the table. ???? 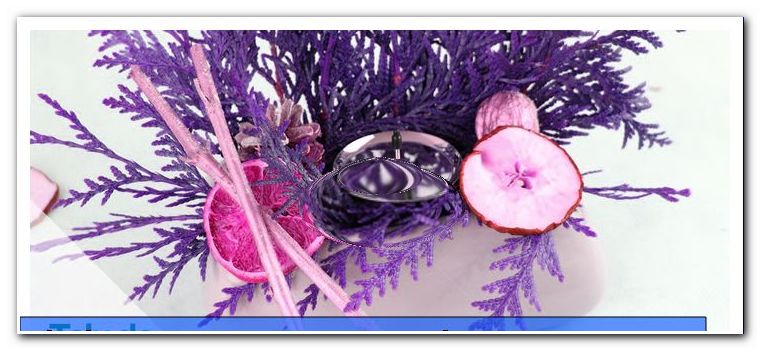
Of course, the arrangement should stay fresh for a long time and the green should not lose the needles. To achieve this you should pour water into the container regularly. Therefore, the waterproofness of the same is important. The plug-in sponge should never dry out - otherwise the green will literally be on dry land. Furthermore, it is advisable to place the arrangement overnight in a cooler room or outside (under a roof).
Variant B: imaginative Christmas arrangement
With this guide, we want to show an alternative to the classic Christmas arrangement. We show you how to make a Christmas and elegant arrangement as a border for a candle itself. However, the focus here is also on the use of natural materials. 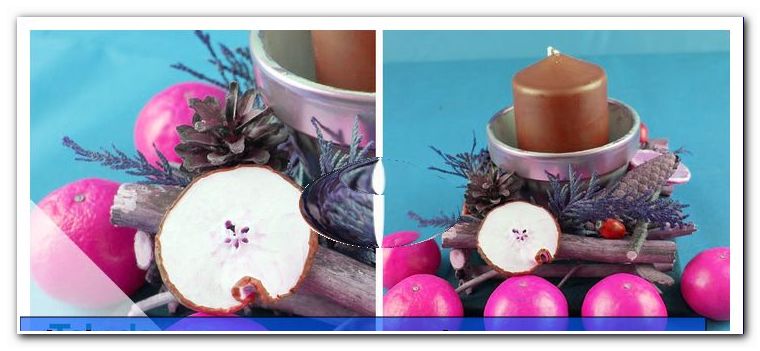
You need this:
- small branch sticks
- Holzverwachsungen *
- square wooden board (20 cm)
- Cones (larch, pine, fir, etc.)
- Knife, sandpaper
- hot glue
- Colored paint in white, decoration spray in gold
- small christmas balls
- Candle container ** and candle
* Ideal is nature-washed wood without bark.
** There are several options available for candle holders. For example, a clay pot with a wintery flair, a tealight glass, a noble candlestick or a lantern can be considered.
Instructions for the design
Of course, our guide is just a variant. You can also let your imagination run wild again here.
Step 1 - Embark on a long expedition through a nearby natural area and collect small branch-sticks and attractive wood-adornments as well as larch-suppositories.
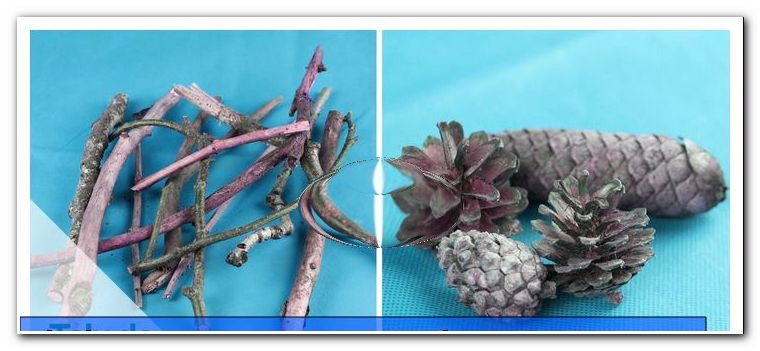
Step 2 - Edit the collected wood by removing the bark or bark where necessary. You can use a carving or kitchen knife. It is important that you use a sharp execution. With blunt expenses there is a much greater risk of injury. 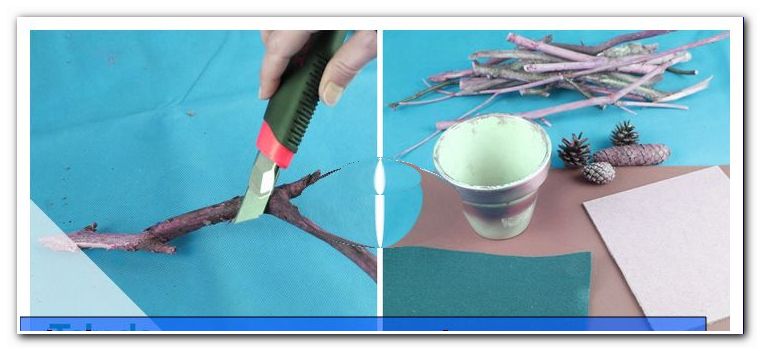
Tip: Speaking of injury: For a safe knife guide you work away from the body. It sometimes happens that this is not possible, for example due to many bends in the wood. Carefully carve in every case.
Step 3 - Sand your wooden tools beautifully with appropriate paper or fleece. Take your time and enjoy working with the natural materials. Those who like it close to nature can simply leave the sticks as they are. We also just freed them from dirt and then processed them further. 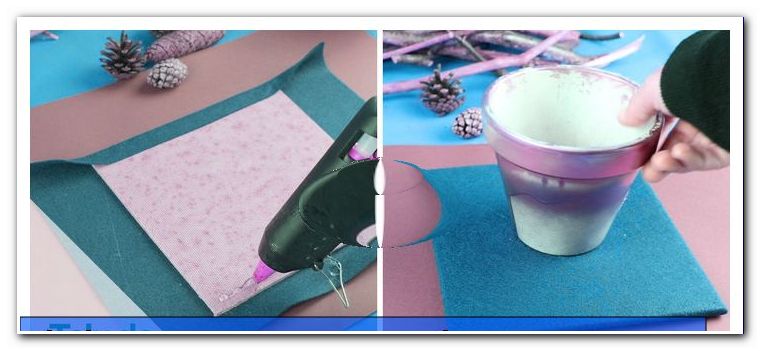
Step 4 - Grab the square wooden board. It forms the basis of your Christmas arrangement. Before attaching the sticks and branches, measure how much space your chosen candleholder needs. We use a winter-shaped clay pot. Then glue the prepared branch sticks and wood adhesions on the board. With hot glue this works best. Slide the individual parts in and over each other - just as you like it. 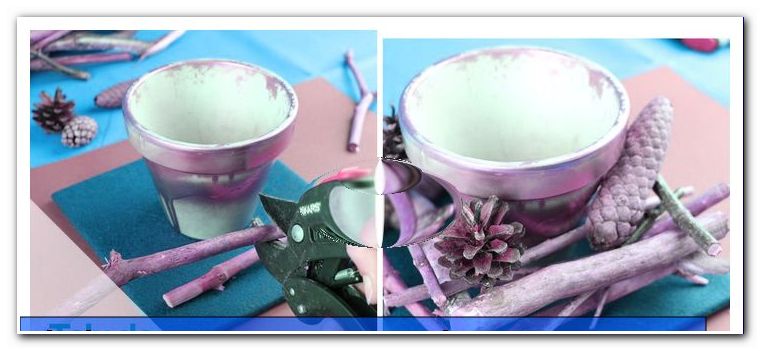
Tip: Attach the more solid sticks in the corners of the wooden board.
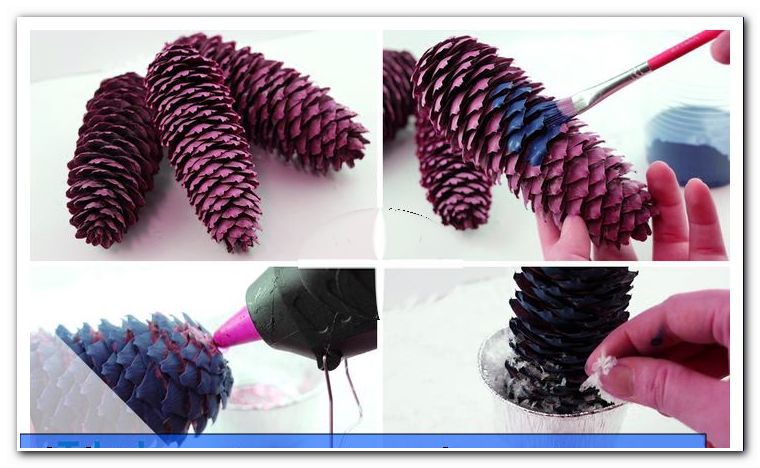
Step 5 - Now it's the turn of the larch cones. They also help to loosen the structure and hide unwanted glue surfaces. Distribute and glue around the arrangement, but not in large numbers. The suppositories should only set accents.
Step 6 - If you want you can use your natural artwork with white paint and let the paint dry well.
Note: Instead of using spray cans you can of course also work with brushes and acrylic paints.
Step 7 - Then puff the wood a little with the gold tone. Again, you must wait for the drying before moving on to the next step.
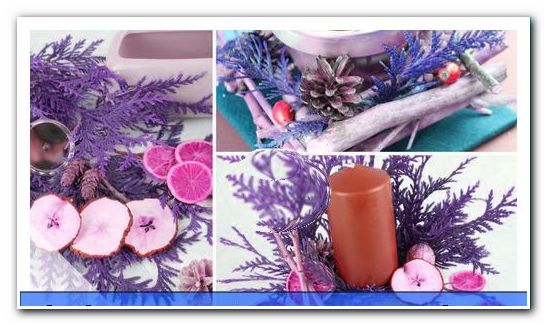
Step 8 - Decorate your arrangement. To do this, first take the desired candle container and place it in the middle of the wooden board. 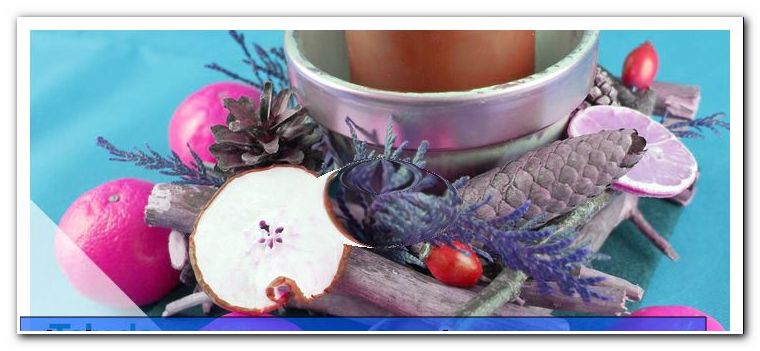
Tip: For the sake of harmony, which is generally very important during the Christmas season, we recommend that you also keep the balls in white and gold. How to obtain a particularly elegant arrangement.
Conclusion
It really is not difficult to design a Christmas arrangement with natural materials yourself. With a little practice you get the described variants in about 30 to 60 minutes. We wish you a Merry Christmas and a lot of joy in crafting!